Showing posts with label My Mind's Eye. Show all posts

Thursday, 14 April 2016

Smile Beyoutiful

Hi there. I'm looking out the window as I type this and all I see is a wall of white mist. We are truly into spring, Hong Kong style - always with high humidity and lots of rain. It gets so bad sometimes that visibility is down to ten metres, as it is now. Best to stay in and do some scrapbooking instead.

Here's one I did a few days ago for the MCS March sketch challenge. Cutting it very close as today is the deadline for the challenge, so I'm posting this before time runs out.


Smile Beyoutiful
I love all the gorgeous spring colours in the layout, just so bright and cheerful. I followed the sketch quite closely this time. The photo was taken a couple of month ago.
I fussy cut some flowers from one of the papers and added several contrasting papers for the strips behind the photo. 
Some tags and banners add more interest to the page.
Loving all the glitter accents around the page to tie it all together.

Products Used
Papers, die cuts, buttons and chipboard from My Mind's Eye Hello Gorgeous collection
Thanks for dropping by,


Sunday, 11 October 2015

HK Memory Chest Kit Club - October 2015

Hi there.  It's been a while since my last update. Last week was a short one, with public holidays and school holidays, so not much scrapbooking done, apart from the October kit samples. I did have a couple of kid's class in the last two weeks and a crop session this week, but that's about it. Hoping to do a bit more next week before half term arrives and we are off on holiday again.

It was fun to work on this kit. In fact, I had already worked with these papers on some previous layouts, which I got from my MCS kits. Coincidentally, HKMC has also come out with this paper line, but with slightly different embellishments. I really love these papers, so it wasn't a hardship to use them again.


October Kit 2015
My Mind's Eye My Story – Heart Strings
My Mind's Eye My Story – Typewriter
My Mind's Eye My Story – Heirloom Roses
My Mind's Eye My Story – Take Aim w/Foil
My Mind's Eye My Story – Days Remembered w/Foil
My Mind's Eye My Story Chipboard Elements W/Foil
My Mind's Eye My Story Journaling Cards W/Foil
My Mind's Eye My Story Flair Button
My Mind's Eye My Story Wood Veneer Shapes
My Mind's Eye Gold Niche Foam Stickers
Doodlebug Paper Doilies – Red
Doodlebug Paper Doilies – Orange
Assorted Colors Ribbon Flower
Pearl Trim
Gold Flower Trim
Orange String
Assorted Colors Sequins
Assorted Beads
Multi-color Trim
Multi-color Pencil

The sketch for this month:


Happiness Is Family Together
 I used the other side of the arrow paper the last time and so I was very happy to be able to work with it this time. Lots of gold arrows calls for lots of hearts. As the background is quite busy, I kept the layout quite simple and uncluttered. The photos were taken on a coach, hence the hubby being in the background.
 I die cut some hearts to layer behind the photos and added a few accents on the side.
 I've had the Tim Holtz word dies in my stash for a while and decided to use them to complete the title.
 Another heart and doily accent to balance off the layout.

Puppy Love
I kept this page focused on the photos. Miss C has been asking for a puppy for ages, but I don't think it will happen soon, so she was ecstatic to be able to cuddle some new puppies on our Alaskan trip. Every time she sees this layout, she keeps nuzzling it. So funny.
I split the background with two different papers and cut out some hearts to divide them. I also used the yellowy/orange doilies to match the yellow in the photos.
 The typewriter chipboard is the cutest and I used some of the gold glitter accents to enhance it.
I also die cut the 'love' for the title and added gold foil to it. I don't have a laminator - yet, but using double sided tape or Tombow Mono liquid glue works as well. 

Smile And Pout
For this layout, I opted to do a mixed media base in complimentary colours. The photos were taken at our annual ball, the only time I dress up and put on full make up. We were having fun with a makeup app and taking silly photos.
 For the background, I sprayed on pinks and yellows before stamping with background stamps.
 I then fussy cut and framed the photos with flowers, the lace flowers and doilies.

Godiva Treat
 For this last layout, I contrasted the deep pink patterned paper against the black and white chevron paper for a bold look. I love the photos - it was certainly a treat to have the Godiva ice cream - so rich and yummy and the giant size replica was too fun not to take picture of.
 I'm loving shaker cards at the moment, but since I don't normally make cards, I like adding them to my layouts instead. This one, I made with one of the journaling cards that came in the kit and already had a butterfly die cut into the card.
I love this cluster of embellishments and the gold leaves really set off the accents. I used an alcohol based glue on the back of the crystal heart - not a good idea - as you can see where the glue ate into the foil paint.
 I layered an accent corner on the top of the page to balance off the chevron pattern.

Here are the layouts from the rest of the girls.

Smile by Erika Lui
Loved by Erika Lui
 Project Life Layout by Erika Lui
Hello by Belly Lau
Loved by Belly Lau
Hello by Belly Lau

Discovery Bay Crop 
13th October (Tue)
10:30am - 12:00noon
Hosted by Grace Wong


See you at the crop.


Thursday, 17 September 2015

Dream Big

Hi there. It's time for another My Creative Scrapbooks sketch challenge. This month my kit came a lot earlier than usual and it always comes with a preview of the sketch for the month, so I was able to get an early start on it.

http://mycreativesketches.blogspot.hk/2015/09/september-sketch.html


Dream Big
 I am absolutely in love with this kit and had been eagerly waiting its arrival since I saw the sneak peeks. The patterns, the colours - all so pretty. The photo was taken in Vanvouver this summer.
 I love fussy cutting and this was a nice flower to cut. I added some pretty lace to soften the separation of different papers.  I also fussy cut the gold title from a journaling card.
I fussy cut some banners from one of the patterned papers for the banner details on the sketch. I love the stack of books and the typewriter button is just too adorable.
I made up some sentiments with the word stickers that came with the kit and added a little bit of whimsy with the cute little bird perched on the title.

Products Used
Papers, die cuts, flair buttons and stickers from My Mind's Eye My Story collection
Lace and twine from stash
Antique linen distress ink from Tim Holtz by Ranger

Thanks for looking,


Tuesday, 10 February 2015

Valentine's Day Cards

Quick, take my temperature! I did the unthinkable (for me) and made some cards. Not just one, but three! I think all those card making videos on You Tube has been getting to me. Even now, I have split screens on my laptop, watching Nichol Magouirk videos while I'm typing.

Valentine's day is just around the corner and it's a perfect occasion for me to do some cards and some colouring as well.

Valentine's Card 1
For this card, I used kraft paper as the base. I then cut out a heart on my pink polka dot paper, layered on a piece of acetate and framed the front of the heart with another die cut red heart. I added a foam tape "dam" to the back surrounding the heart and added beads and sequins to make a shaker card.
 The pair of elephants are too adorable and small enough for me to colour. I don't have the coordinating dies so had to cut them out by hand. Well worth it I think as they are just too cute. This card will be for Miss C.

Products Used
Kraft cardstock and red cardstock
Pink polkadot paper from My Mind's Eye Lost & Found Two Blush 6"x6" paper pad
Nesting Heart dies from Sizzix
Stamps by Lawn Fawn Love You Tons
Elephants coloured with Spectrum Noir markers
Mini sequins and microbeads from stash

Valentine's Day Card 2
 The second card will be for the Mister. I chose some masculine colours and patterns, die cutting the heart three times with three different papers and inlaid the negative space with the dark brown pattern and red card stock.
I distress inked the beige pattern card and laid it on a red matt card. I also added some clear Wink of Stella on the red roses. The words were die cut from another stamp/die set.

Products Used
White and red cardstock
Patterned papers from My Mind's Eye Lost & Found Two Blush 6"x6" paper pad
Lace Heart Sizzlits die from Sizzix
Words stamped and cut from Hello Sizzix Framelits 
Frayed Burlap distress ink by Tim Holtz for Ranger Inks
Clear Wink of Stella

Valentine's Day Card 3
 This is my favourite of the three. Haven't found a Valentine's for this card yet - might keep it for myself. The typewriter is too cute. I stamped and coloured that and the envelopes before cutting them out. I then stamped the typewriter paper with the LOVE.
For the pink background paper, I chose one with a tight pink pattern and stamped the pink circle all over the paper (which I then promptly stuck on upside down - sigh). I added two strips of brown patterned papers on the base before sticking on the typewriter, envelopes and a few sequins and hearts.

Products Used
White and pink cardstock
Patterned papers from My Mind's Eye Lost & Found Two Blush 6"x6" paper pad
Stamps and die set from Pink Paislee Pen Pals collection
Red enamel hears from Doodlebug Design
Typewriter and envelopes coloured with Spectrum Noir markers
Distress Inks in Worn Lipstick and Frayed Burlap by Tim Holtz for Ranger Inks

Hope you liked my cards and I would love to see some of yours too.

Thanks for dropping by and Happy Valentine's Day.


Monday, 3 November 2014

November Musings

Just as October is breast cancer awareness month,  November has the tradition of Movember, bringing awareness to men's health by promoting the growth of upper lip adornment. You'll see normally clean shaven men trying to sprout lip fur all around town and although it is indeed a worthy and serious cause, it is probably what has given form to one of the cutest design trend - the moustache.

We were shopping in Accessorize the other day when Miss C was tickled pink by a moustache pencil and had to have it. I took a few pics of her and did a simple layout and I thought how appropriate to post the layout for November.

I "Moustache" You A Question
A very simple layout with just a few elements dotted around the page. I love the red polka dot background that contrasts so well with the greens and golds. I love the gold frame which give that something extra to the page. The framed moustache was from my crop buddy who was working on papers that had the moustache as well.
 I freehanded the moustache for the title before popping it up with foam squares. I wanted the word question in the same lettering but felt it didn't fit in the space I had, so I used lots of different question marks instead.
Cute stars popped up around the page to add balance.
 Yes, you are. To me, you will always be the cutest.

Products Used
Papers, chipboard and die cuts from My Mind's Eye Jubilee collection
Banner shaped alphas from Pink Paislee Pen Pals collection
Mini circle letters from Fancy Pants Designs Everyday Circus collection
Questions marks from various alpha packs

Hope you enjoyed looking. Need to do a flowery page soon. What do you think?


Tuesday, 30 September 2014

September Layouts

Apologies for the lack of posts - I've just been plain lazy about it, which is unforgivable. On the other hand, I haven't had that many layouts to show. I've only scrapped one layout a week, during our weekly crop sessions; daily life getting in the way.

As I sit here and type, I'm watching history take place in my home town. Hong Kong is fighting for democracy and thousands are on the street, in a peaceful protest, asking the Chinese government to honour the promises they made to Hong Kong and its people. Last night, the demonstrations escalated into a shocking debacle, whereby police were using pepper spray and tear gas to "control" the crowds. It was like a scene taken from some apocalyptic film and has caused the city to grind to a halt, with schools and banks around the hot areas closed for the day and public transport scarce. Miss C's school is within the districts affected, so she'll be home for the whole week.

It is at the same time a sad and awe-inspiring spectacle. Sad that things had gone the way they did last night and awe-inspiring the way Hong Kong's citizens and residents have united together to support each other for this worthy cause. Praying that a resolution will be found and Hong Kong can retain its identity in these trying times.

On to the layouts which I feel I should finally post before I completely forget.

First Holy Communion
 Well overdue layout considering the communion took place in June. I was saving this kit from MCS for this particular layout, which is a representation of a sketch that came with another kit.
 A simple layout with a cluster of flowers along one side. I love the flower sprays jutting from both sides of the cluster. This kit came with die cut angels which were perfect for the theme.
I edged the semi circles with lace and the die cut roses were edged to give them more definition.

Products Used
Papers, stickers and die cuts from Kaisercraft Key to my Heart collection
Flowers from Prima Marketing
Alphas from Doodlebug Designs
Distress Inks from Tim Holtz for Ranger Inks
Cardstock from stash
Lace


Yummalicious
 Miss C loves her chocolate shakes and I had to capture her mid slurp, of course.  I love how the colours in the paper match the colours in her outfit. This layout was also inspired by a sketch from MCS.
I love the contrast of multi-colours with the grey background paper - it makes everything else pop so much more. The cute words were cut from from one of the papers.
 This little camera die cut made me giggle as I felt it went with the photo well - Miss C slurps those choco shakes so quickly, they're gone in a blink. The ice cream sundae die cut was kindly given to me by one of my crop mates to complete this layout. Thanks Mandy.
The coloured balls was a sticker strip which I fussy cut. Yummalicious is a word that I use to describe the most yummiest, delicious foods, naturally.

Products Used
Papers, stickers from My Mind's Eye Creative Agenda collection
Brads from My Mind's Eye Now and Then collection


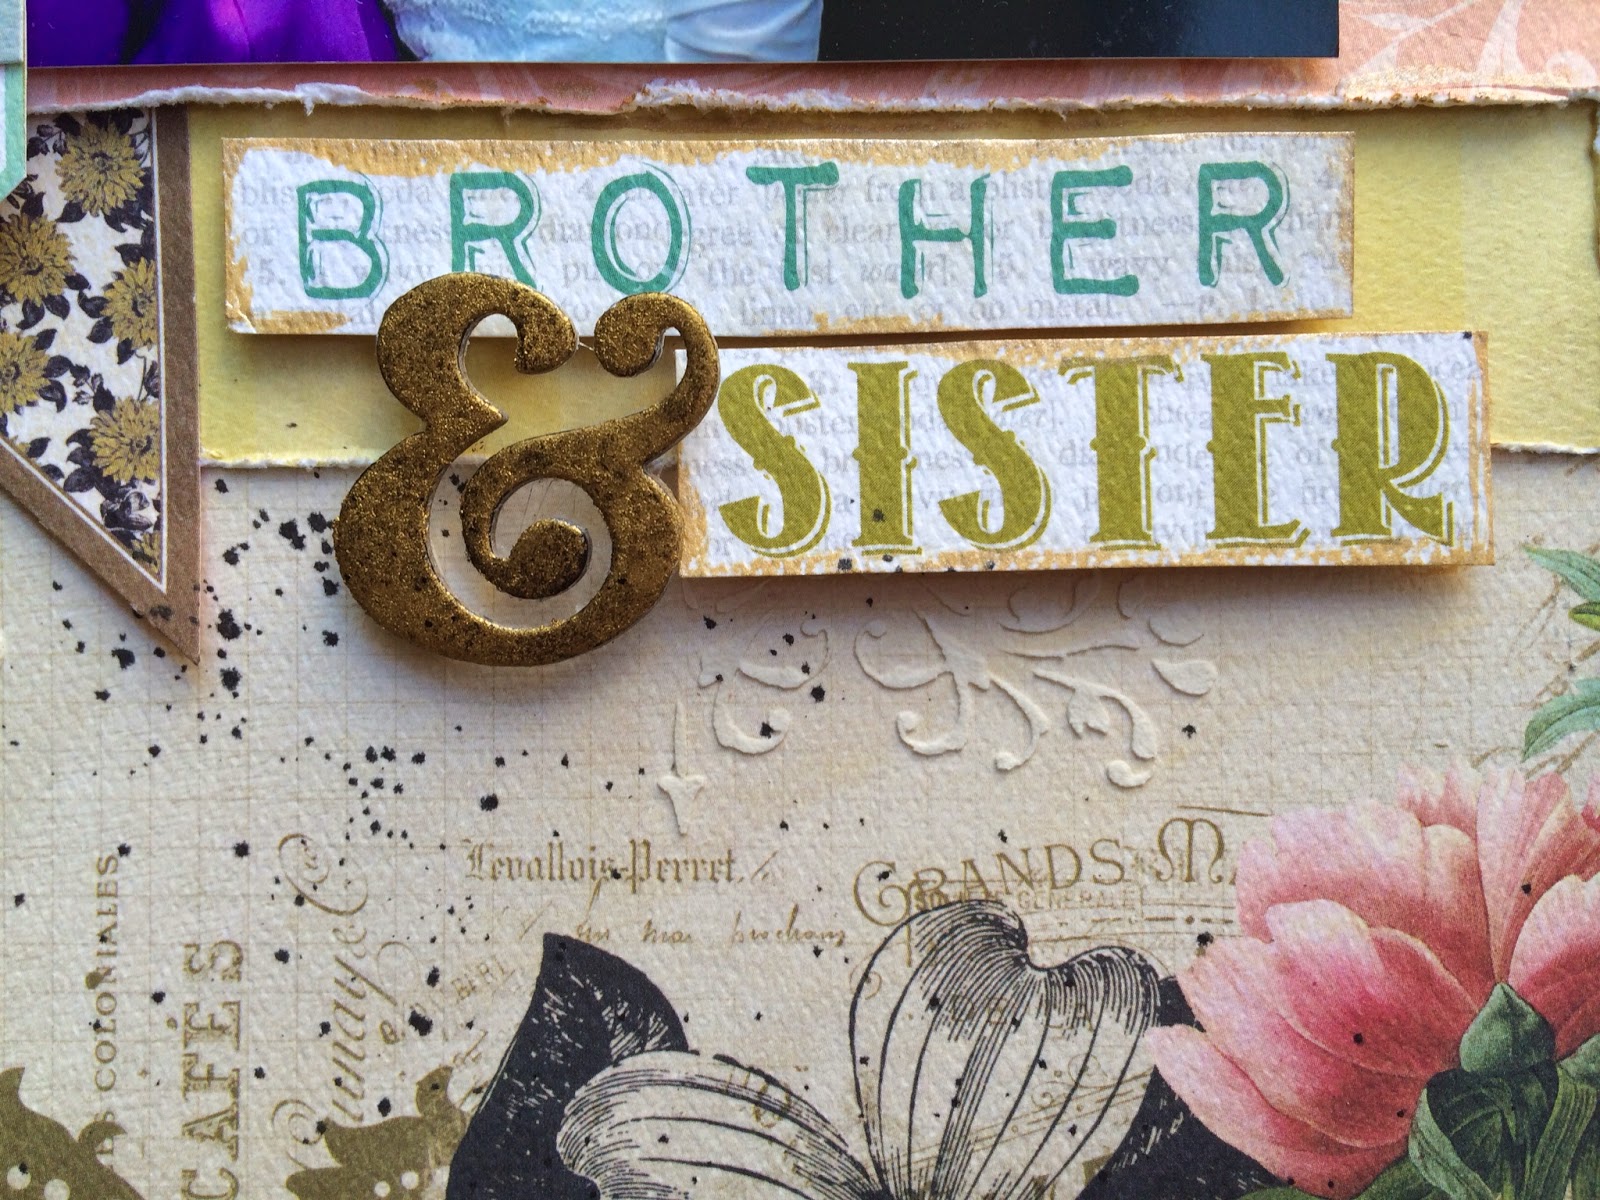
 Brother & Sister
The hubs is the youngest of four siblings and as you can see he's also the only male, which means he was thoroughly spoilt as a kid. This photo was taken at his sister's wedding last summer. I like the subtle gold tones in the paper and tried to mimic that around the page and borders.
I love the gorgeous flourish stencil which came with this kit - it really helps give dimension to the background paper. I layered horizontal strips of different patterned papers behind the photo.
 Funnily, I didn't look carefully at this kit before picking it for the photo and didn't know it had the words Brother and Sister (wish it was sisters) until I was halfway into using it. Lucky pick. I patted gold rub n buff into a chipboard ampersand to tie the title together.
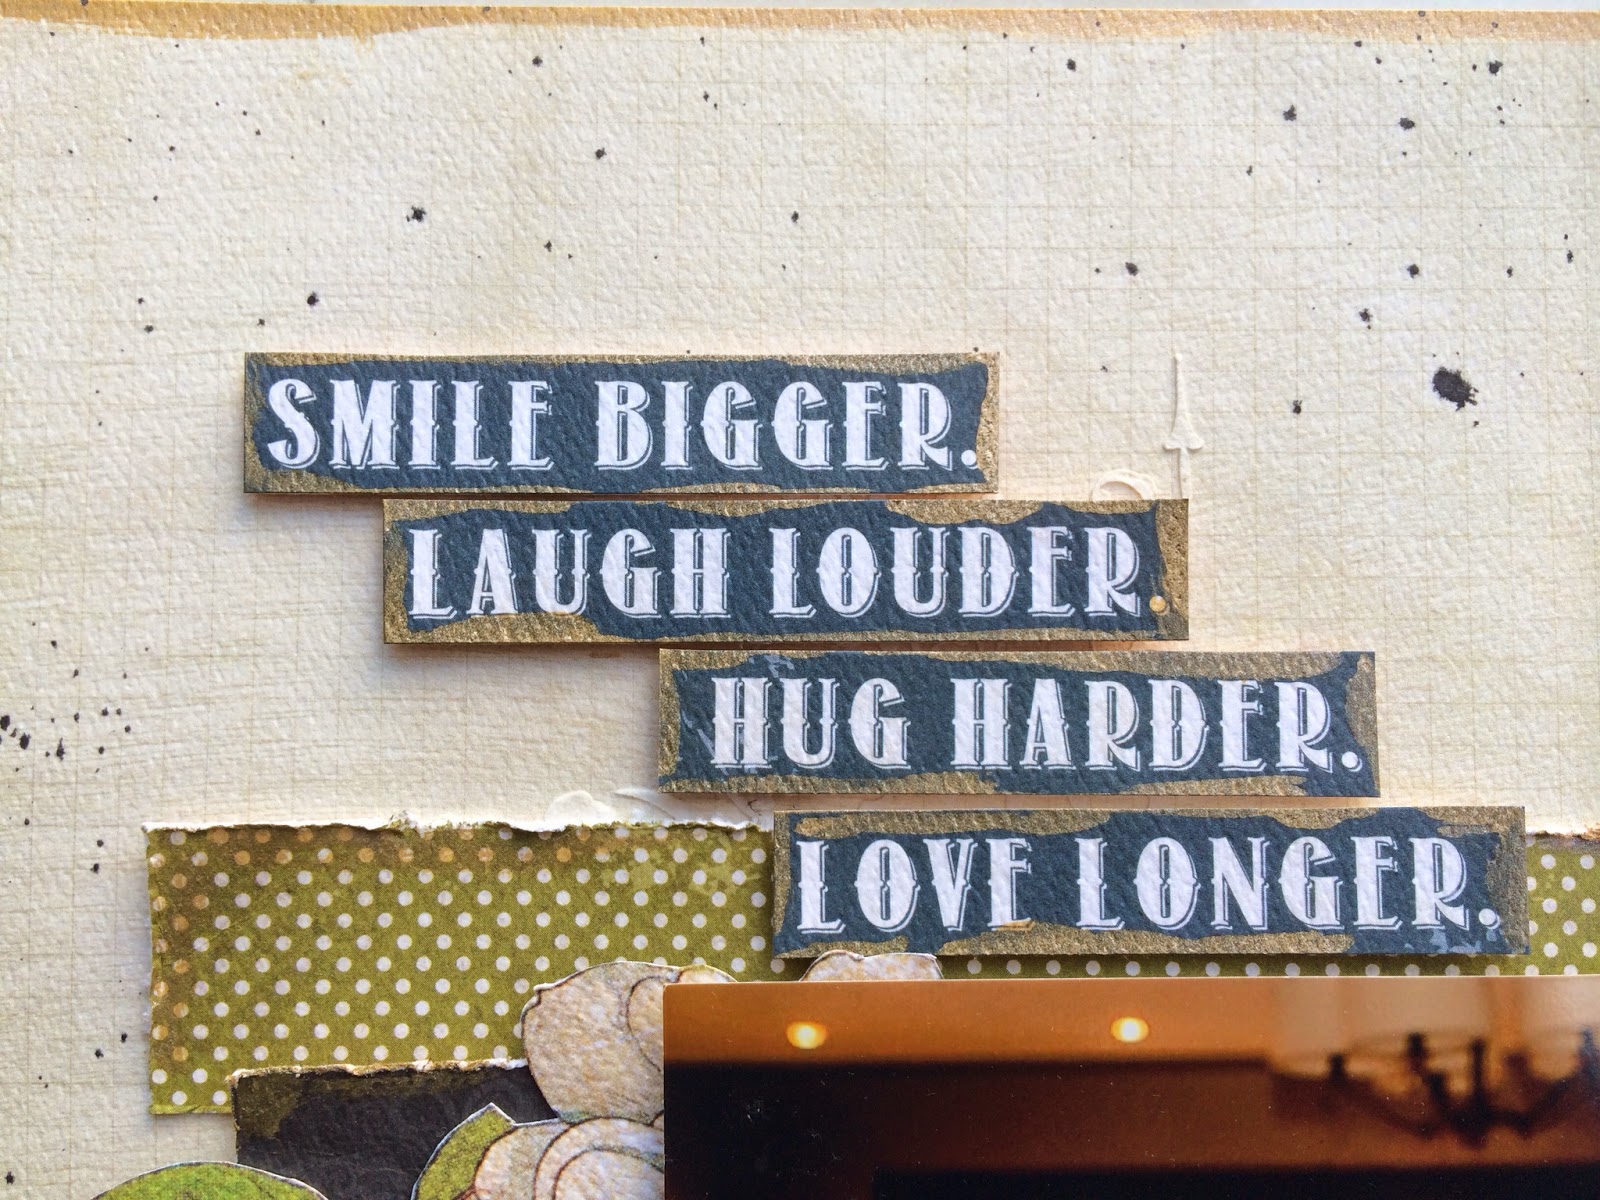
I love this phrase and seeing their relationship with each other, quite befitting.

Products Used
Background paper and die cuts from Authentique Harmony collection
Other papers from Carta Bella Moments & Memories collection
Flourish stencil by Prima Marketing
Light molding paste by Golden
Ampersand chipboard alpha Thickers from American Crafts
Tarnished Brass and Black Soot distress stains by Tim Holtz for Ranger Inks
Gold Rub n Buff

So there we go, the last three layouts I did. My next post will feature the HKMC October kit, so stay tuned.

Hope you enjoyed looking and see you soon,


You might also like

Related Posts Plugin for WordPress, Blogger...